Hi there everyone! Are you glad it's Friday? Me too! I know some of you have been wondering what's happening with my Beach Themed Bathroom that I started back in July. All I can say is - I'm slow. It takes me FOREVER to complete a room. If you're new here, I have indeed been working on my kid's bathroom for the last few....months. There, I said it. I'm so ashamed! Why does it take me so long to decorate the smallest room in my house? I don't have an answer except to say that I get side tracked, easily distracted, and I'm somewhat indecisive at times. Can any one relate?
Well, I'm buckling down! Yup, I am focused. Steady Eddy from now on, and I've decided to COMPLETE this room by next week. So next Friday, I will have a Beach Bathroom Reveal! My first room reveal! I'd like to thank the academy, Hobby Lobby, Michaels, and Home Depot for their support! Just kidding. They just willingly took my money these last few months in exchange for goods. Speaking of goods, I made beach art for that "taking forever" beach bathroom. You want to see?
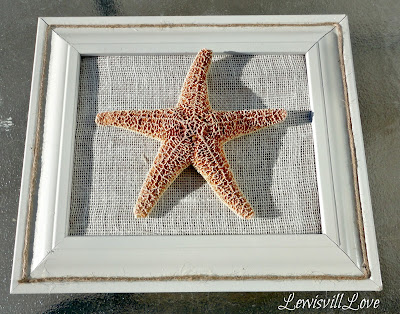

How do you like them? They were so easy to make and as always here in Lewisville, very inexpensive.
 I didn't want to hang them up and give you a peek into the bathroom and the final touches I'm making. I like suspense and keeping you all guessing! Is that mean of me? The pics aren't the best, I know. These were taken outside in the bright Denver sun, but you get the idea, right?
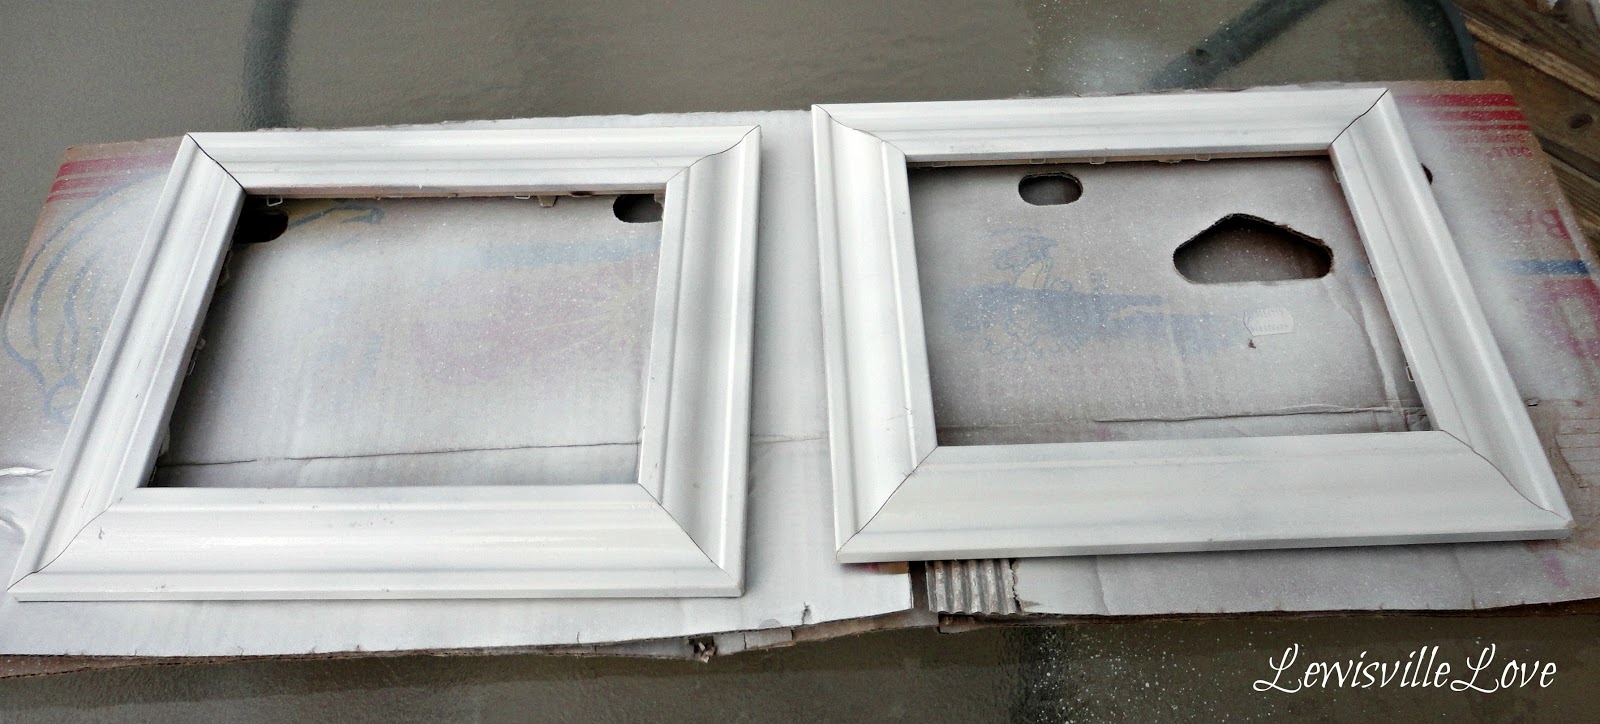
Ok, so I started with these two frames I had in the garage. They once held "art" for my son's room, but he grew out of the kid art it once displayed. They've been sitting in the garage for the last year. I love thick, chunky frames like this.

I sanded them down just a bit then used white primer.
 Then I used a coat of Rust-Oleum's Heirloom White. It's not a bright white or pure white, rather it's a creamy white. I use it quite a bit.


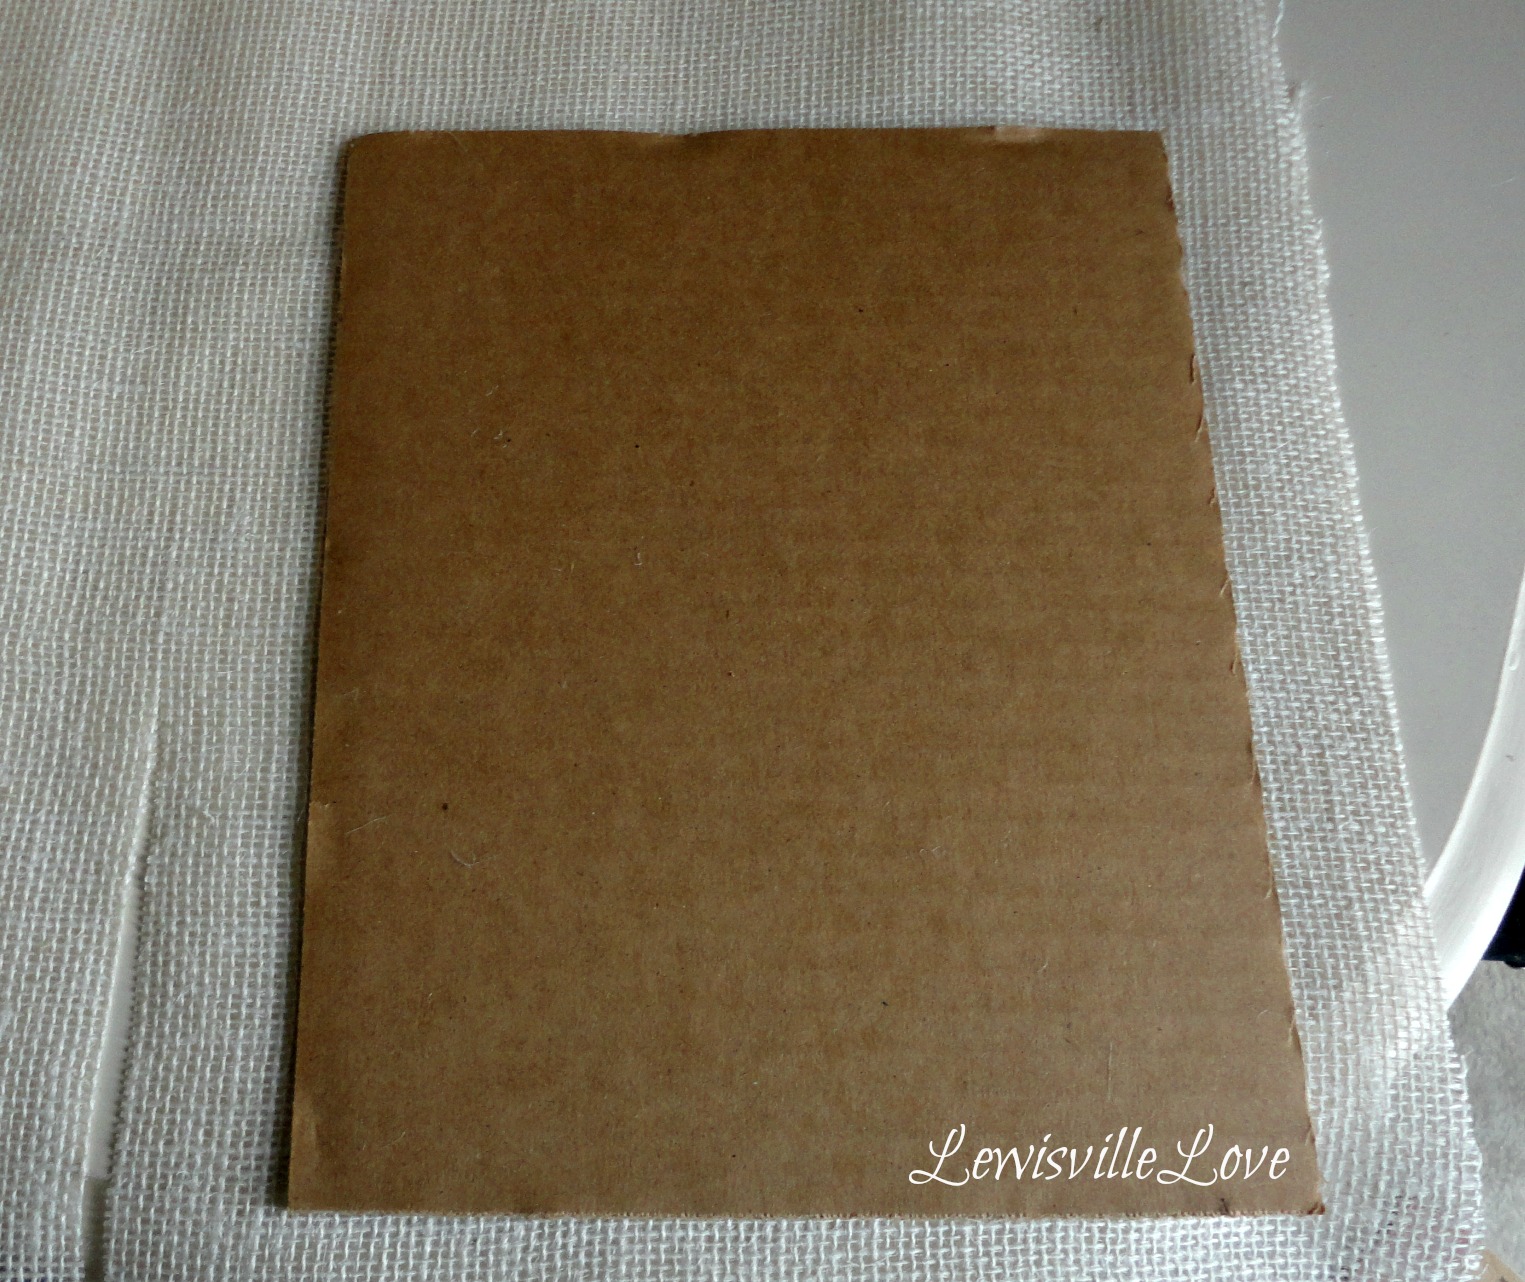
White I impatiently waited for them to dry, I went inside and started cutting burlap around the cardboard inserts from the frames. I've never worked with burlap before, but I really like the rugged, rustic look it provides.
 And here they are, ready to be adorned with beach "stuff"!
 I LOVE the starfish! It came from Michaels and after using my 40% off coupon, picked it up for under $3! Score! The sea shells are from the Dollar Store. I picked those up months ago for another project, but I had many, many left over.

Unfortunately, the indecisiveness in me came out, and I couldn't make up my mind on how to place the shells. I tried this, but thought it would be to heavy for the burlap.
 Then this...

Then I even took it outside to put it in the frame to see if I like this more. ???? No. I didn't.

Finally, I decided to group them in three, for my three kiddos! Awww, I know! But it's true. They've kinda stolen my heart like that.

Finally, it was time to use the hot glue and burn my fingers. Oh wait, that last part is optional.
 Lastly, and I really mean last minute, I decided to add twine to the edges of the frame. My oldest daughter suggested the idea, so I kept it for her.

I think they turned out PERFECT! They're going to look great in their bathroom!
 One last time...
The whole project cost me lest than $5. It has a certain rustic, coastal charm to it, I think. They're going to look perfect on our Venice Beach blue walls.
Hope you like them! Have a great Friday everyone! Tomorrow, I'll be showing you my emergency binder I finally got around to organizing. If you need some inspiration on getting your home organized, I invite you to join me on the weekends!
Well, I'm buckling down! Yup, I am focused. Steady Eddy from now on, and I've decided to COMPLETE this room by next week. So next Friday, I will have a Beach Bathroom Reveal! My first room reveal! I'd like to thank the academy, Hobby Lobby, Michaels, and Home Depot for their support! Just kidding. They just willingly took my money these last few months in exchange for goods. Speaking of goods, I made beach art for that "taking forever" beach bathroom. You want to see?


How do you like them? They were so easy to make and as always here in Lewisville, very inexpensive.

Ok, so I started with these two frames I had in the garage. They once held "art" for my son's room, but he grew out of the kid art it once displayed. They've been sitting in the garage for the last year. I love thick, chunky frames like this.

I sanded them down just a bit then used white primer.


White I impatiently waited for them to dry, I went inside and started cutting burlap around the cardboard inserts from the frames. I've never worked with burlap before, but I really like the rugged, rustic look it provides.


Unfortunately, the indecisiveness in me came out, and I couldn't make up my mind on how to place the shells. I tried this, but thought it would be to heavy for the burlap.


Then I even took it outside to put it in the frame to see if I like this more. ???? No. I didn't.

Finally, I decided to group them in three, for my three kiddos! Awww, I know! But it's true. They've kinda stolen my heart like that.

Finally, it was time to use the hot glue and burn my fingers. Oh wait, that last part is optional.


I think they turned out PERFECT! They're going to look great in their bathroom!

Hope you like them! Have a great Friday everyone! Tomorrow, I'll be showing you my emergency binder I finally got around to organizing. If you need some inspiration on getting your home organized, I invite you to join me on the weekends!
Blessings,
Lisa
I link all my projects with some wonderful blogs. To visit them, go to
the {Link Party Love} page found at the top of this page on the {Home}
bar.
Also linking to:
Between Naps on the Porch
Savvy Southern Style
No Minimalist Here
The Shabby Creek Cottage
Saved by Love Creations
Miss Mustard Seed
Funky Junk Interiors
Coastal Charm
Restore Interiors
Tip Junkie
Also linking to:
Between Naps on the Porch
Savvy Southern Style
No Minimalist Here
The Shabby Creek Cottage
Saved by Love Creations
Miss Mustard Seed
Funky Junk Interiors
Coastal Charm
Restore Interiors
Tip Junkie
Very pretty Lisa! Can't wait to see your big reveal!!
ReplyDeleteThanks for linking up this week!
Have a blessed Thanskgiving!
Stacey of Embracing Change
very nice. Always looking for beachy ideas
ReplyDeleteWhat a beautiful and creative way to show off your shells. Very nice job!!
ReplyDeleteWhat a great idea! I'm your newest follower and was hoping that you'd pop on by and follow me back!
ReplyDeletewww.enjoyingtheepiphany.com
Thanks,
Sarah
Stumbled across you from the open house party. Love your sea art! I'm crazy about shells and anything that comes from the sea. Great idea your daughter had to put the twine on the frame. Looks great.
ReplyDeleteWow! I love your beachy art. And I agree with Roxanne, the twine around the frame added a great deal to the project. Love it!
ReplyDeleteLove your shells! I collect also and have framed a few. It's such a beautiful display of God's art!
ReplyDeleteVery pretty beachy art! I'm featuring them in the PoPP Spotlight this weekend. So glad you linked up.
ReplyDelete
ReplyDeleteI am grateful to hear someone else has these feelings.I do understand.God bless you!!
beach art